

Jack Zimmer and Bob Knobbe
Build A Powerhouse For the PL&S
at Paul's Hobby Workshop

Photo of Jim Duffin's (MMR), DPM Powerhouse
For the PL&S Paul wanted to build a larger version of this Powerhouse. To test the size of his plan Jack Zimmer helped Paul learn how to make a cardboard mockup.
Paul scanned the DPM parts of the kit on his printer scanner and used Photoshop to assemble a set of plans and then printed the walls in HO.

Jack brought cardboard and tape to my workshop.
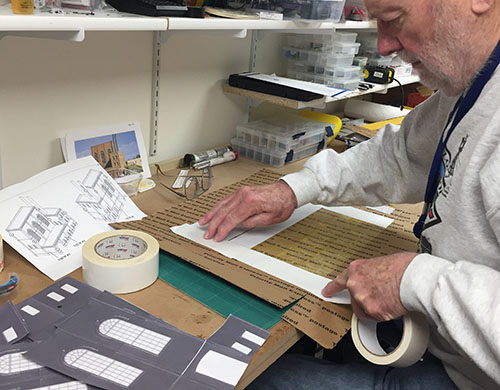
Jack attached tape to the cardboard and then removed the backing of the tape.
He then carefully placed the prints of the kit parts on the tape.
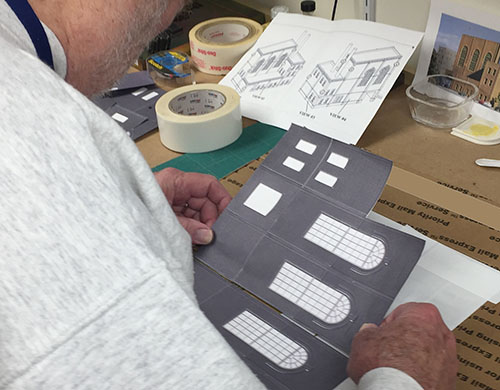
 After Jack showed us how to attach the tape and then the images to the tape and cutting out the structure's parts. We then used tape hold the walls together and placed it on the layout.
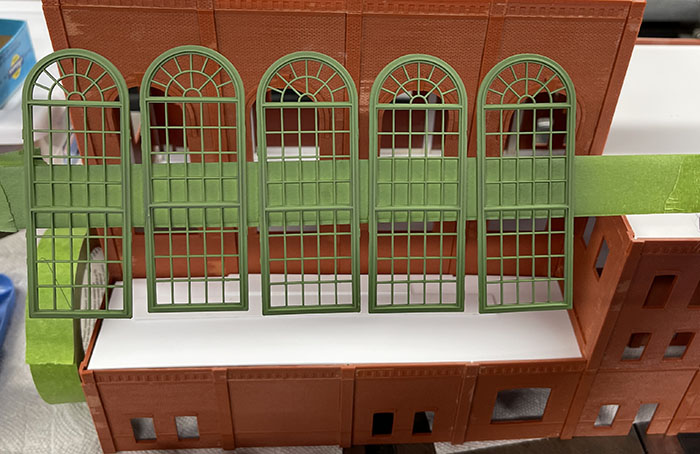
Jack and Bob get started with DPM parts, all the walls to put together!
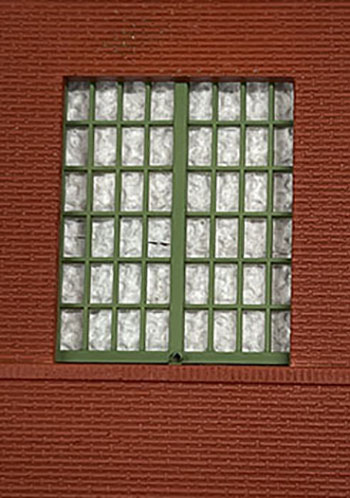
Jack works on the great windows
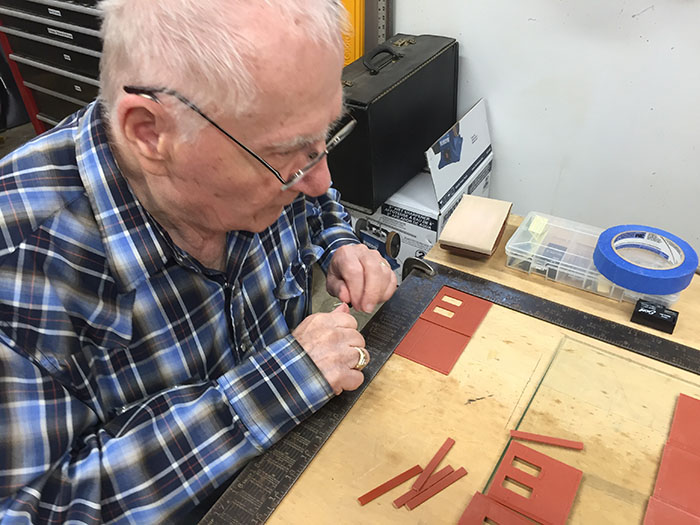
Bob is working on the first floor of the front
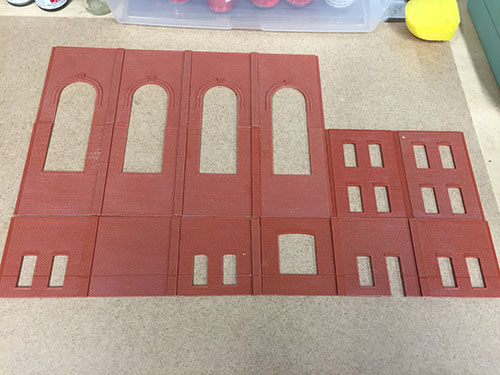

Test fitting the parts as they became floors of the powerhouse
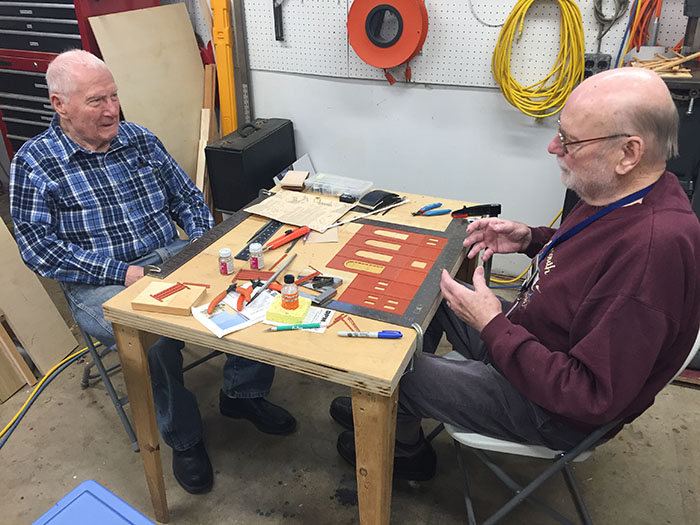
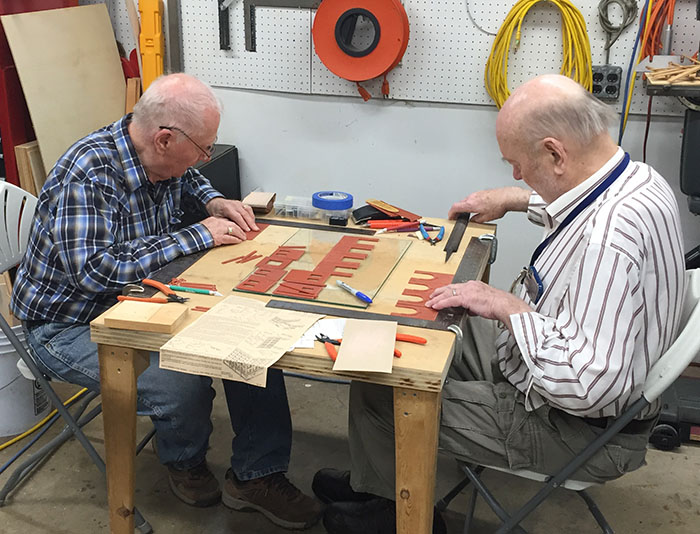
Bob and Jack discus the planning of the final assembly of the walls.
Second pair of sides put together. The long wait for the glue to dry.....
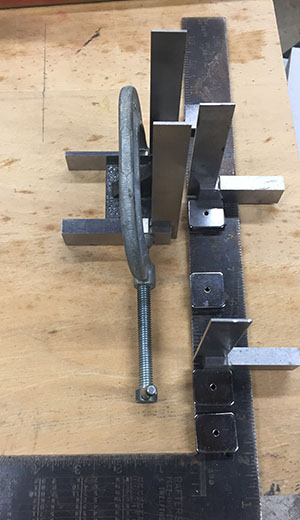
Squares for holding tall walls during final assembly of the outer walls.
4 Framing squares, 6 machinist squares, 4 FastTracks jigs for weights plus large and small square weights and magnets holding the walls in place while being cemented together.
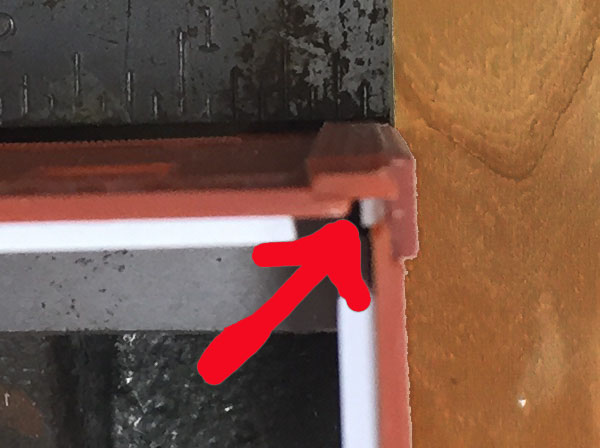
It should be noted that Jack came up with adding Evergreen plastic square strips in the corners which filled in the space and gave a 2-sided area to cement the walls together. (Not the best photo as the walls were not set in place, I hope you get the idea.) I believe it was .080 Sq. Evergreen plastic.

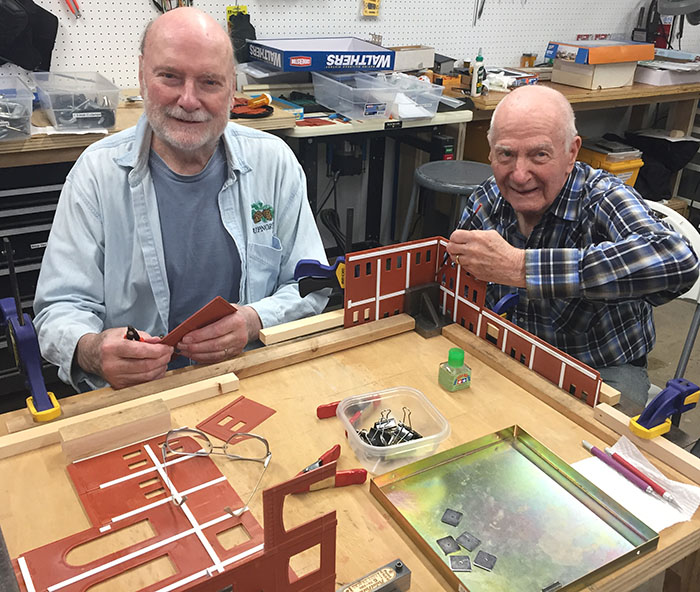
Bob and Jack's final assembly of the outside walls.

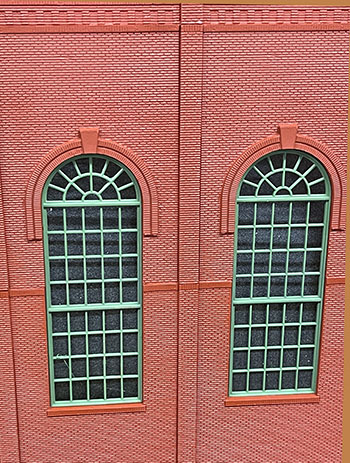
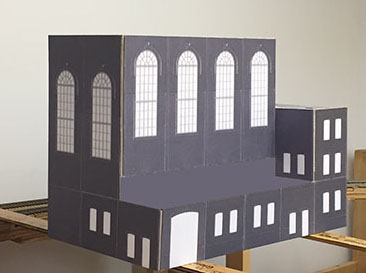 Getting close to the design with a few adjustments. Unloading area for the hopper cars has been moved to the length of the building on the front of the first floor and the windows of the generating space have been adjusted in the plastic model. The walls are in place, but we need to install inside walls and roof.
Delayed by Covid lockdowns the latest work has been Airbrushing to test colors.
Latest Test
Return to the feature (Click Here)
Join us in the “Greatest Hobby” as a member of the TLMRC.