Pickle Tub Cars (Cars & Site Under Construction)
A work in progress with HOn3 drawings, photos and models by Paul Wussow, inspired by Jim Vail’s articles and supportive e-mails.
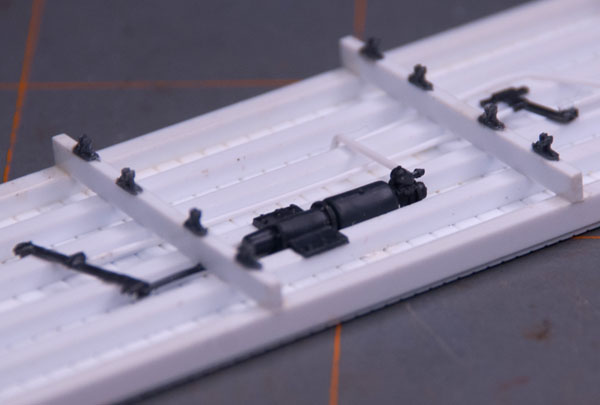
Detail Parts added NBW

NBW for Outside Truss Rods and Stirrups
Queen Posts and Brake Details
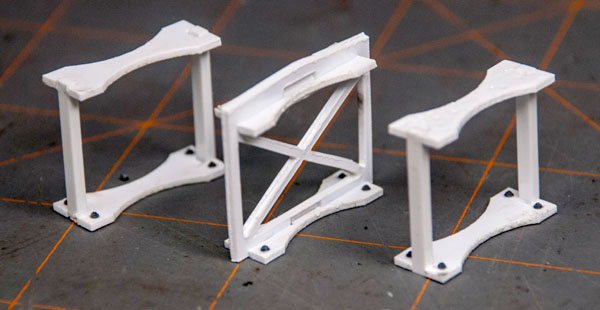
Parts layout with new laser cut internal parts
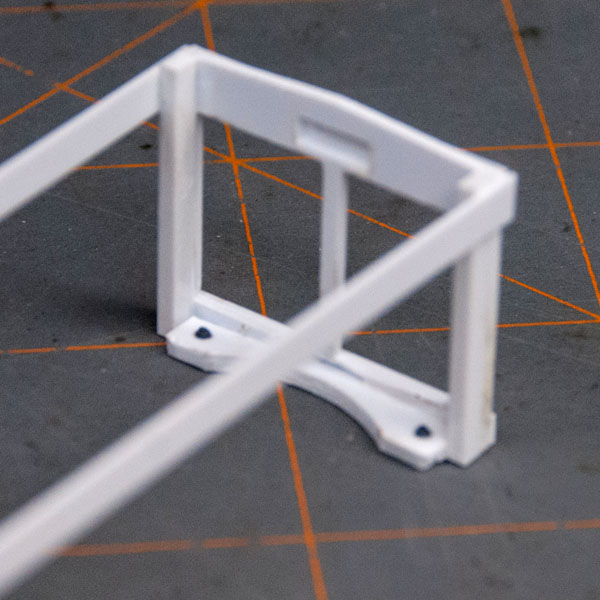
New laser cut internal parts
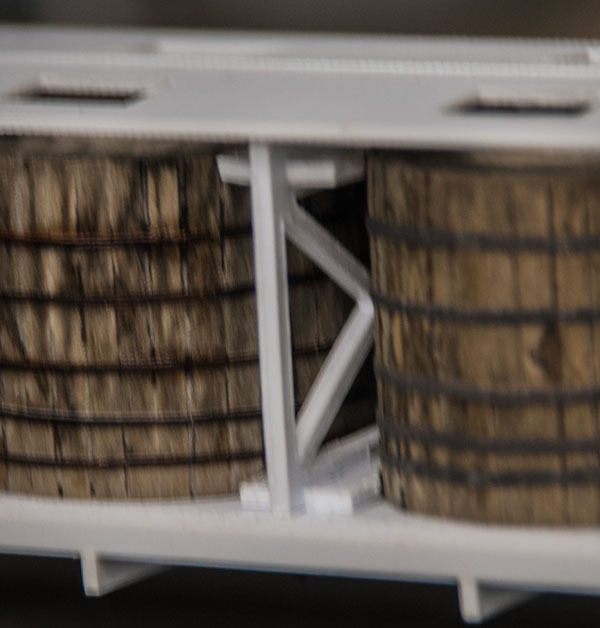
HOn3 Pickle Tub Car
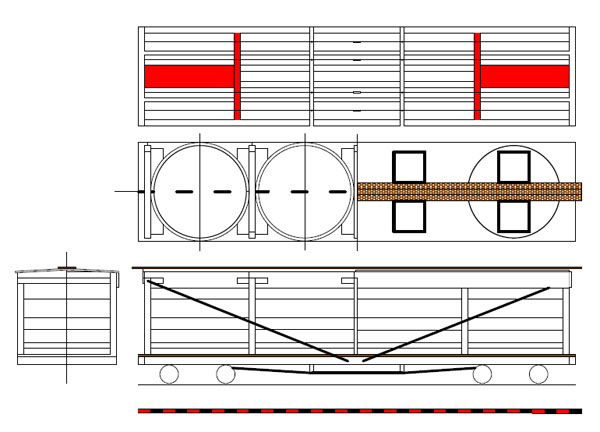
 HOn3 Coffin Pickle Car
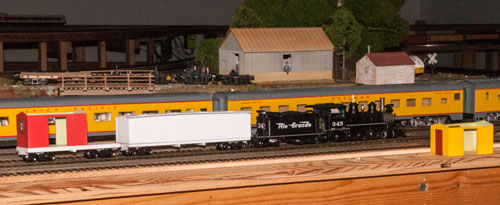
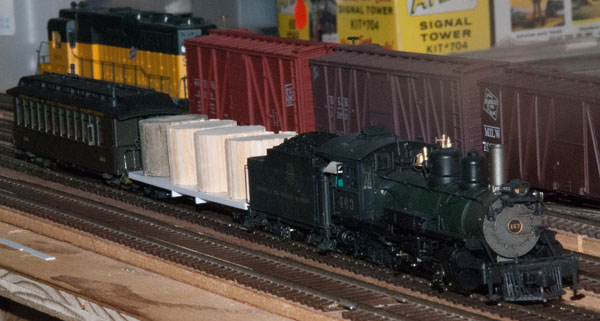
Coffin pickle car under construction with a work caboose during a test run
Standard Gauge cars are from LASERkit by American Model Builders, Inc and Tichy Train Group.
Progress Today Hatch Frames and Hatches with top and bottom detail.


Latest Progress 06/06/14 superstructure cemented together and finished.

The framing is finished with trim wood on the ends and sides.

End trim
Progress as of 06/04/14
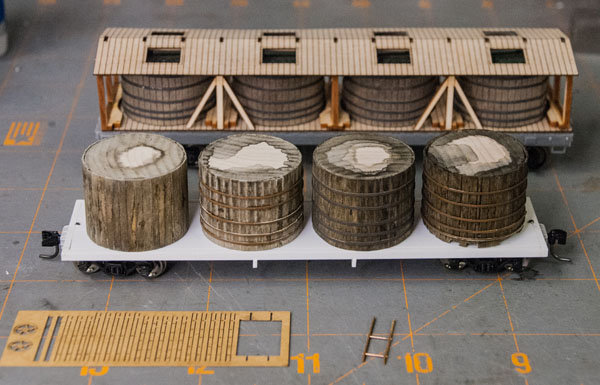
Progress on the HO car in the back includes bands and superstructure.

Also the first ladder.
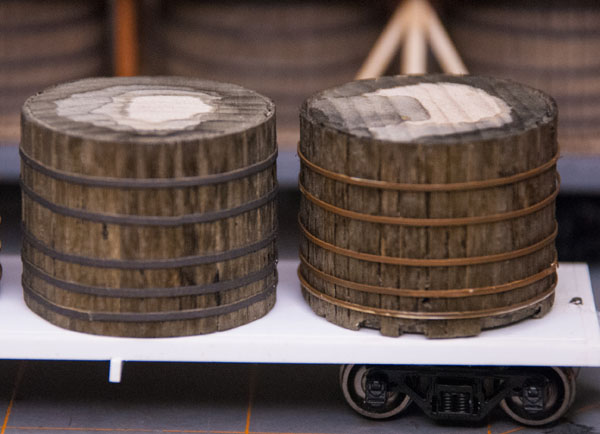
On the left the bands are Peel and Stick. On the right Evergreen #100 painted.
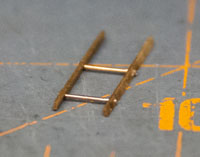 The first of many ladders.
Pickle Tub Car Frame pulled by C-19

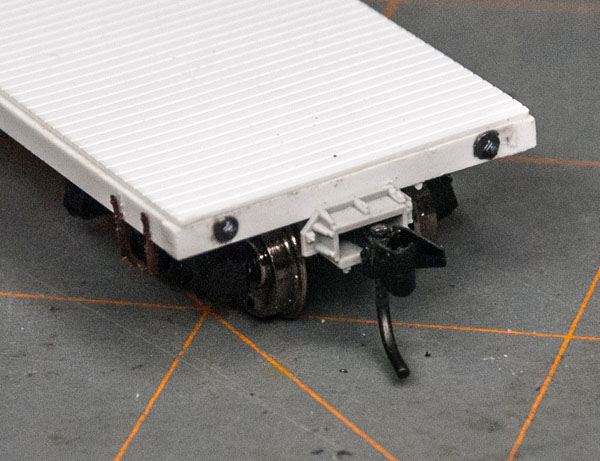
PSC HO-32025 coupler box with Kadee 714 coupler installed with a 0-80 bolt on the frame of the Pickle Tub Car.

With the floor and coupler height set I can continue to build the rest of the car.
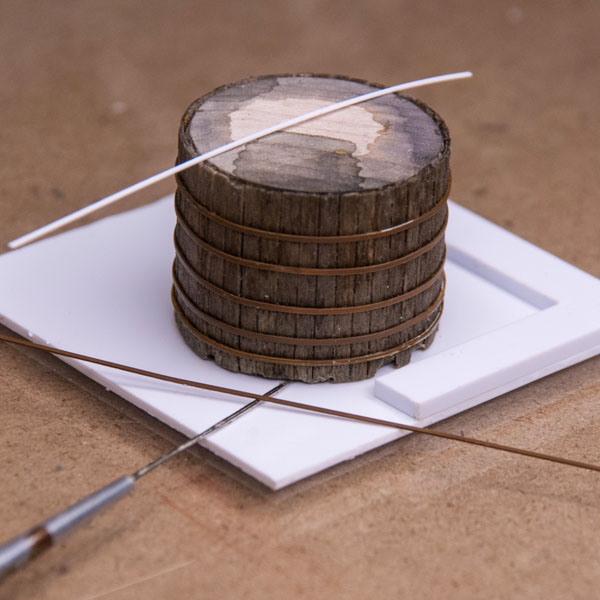
The new band spacing for the tubs is base up .080, .180, .300, .480, and .660 inches. This allows the use of Evergreen strips to be made into a template for applying the bands. (See below)
I used my lathe to test the position and to see if it could be used to position the bands on the tubs. Using a pencil in the tool holder I marked a test tub.
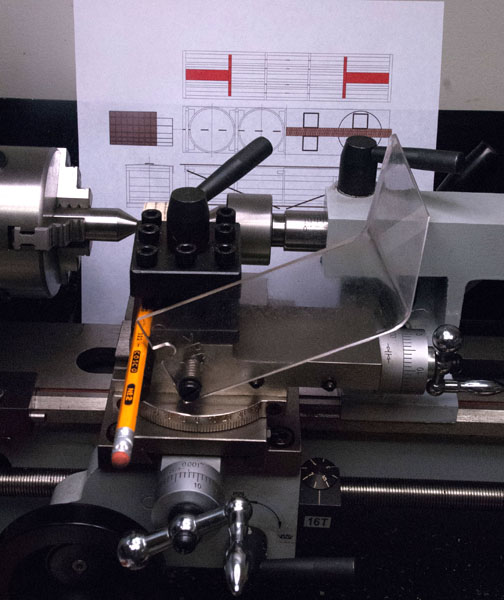
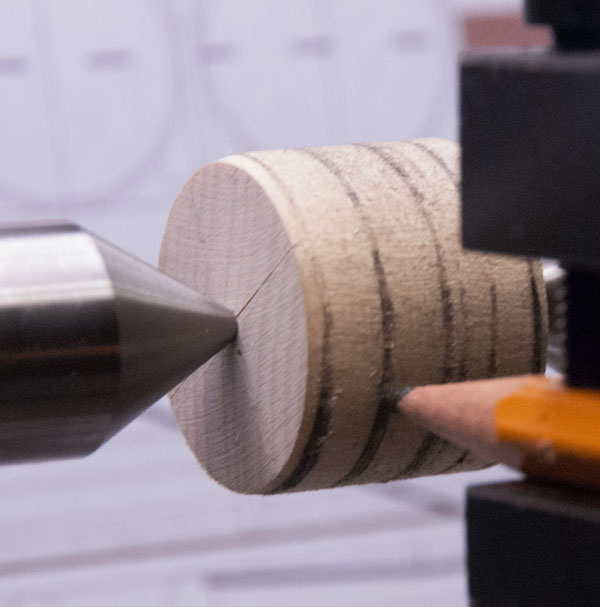
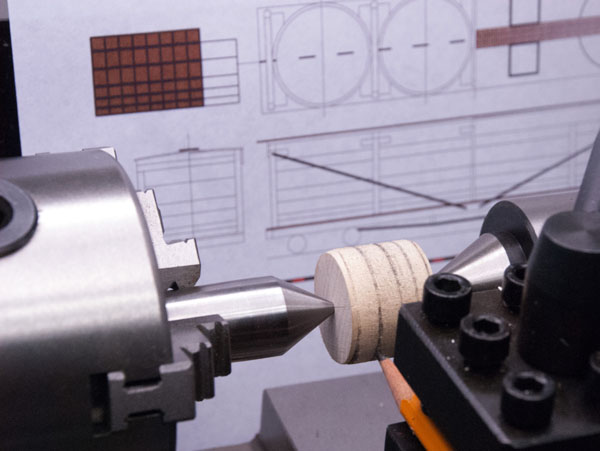
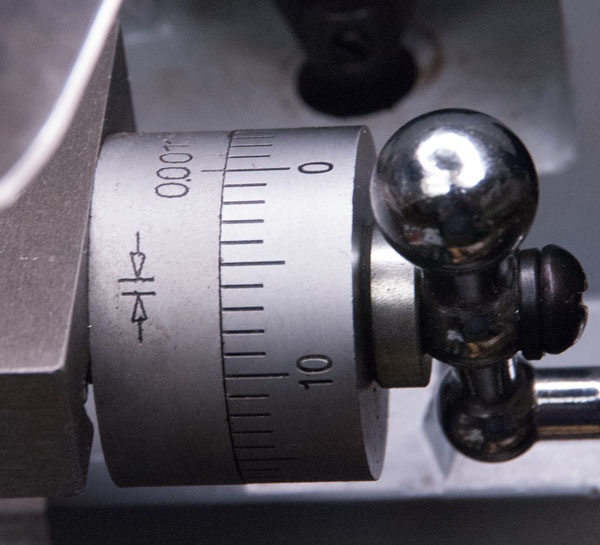
The Lathe gave me control down to .001"
New jigs have been made to help place the banding on the tubs.
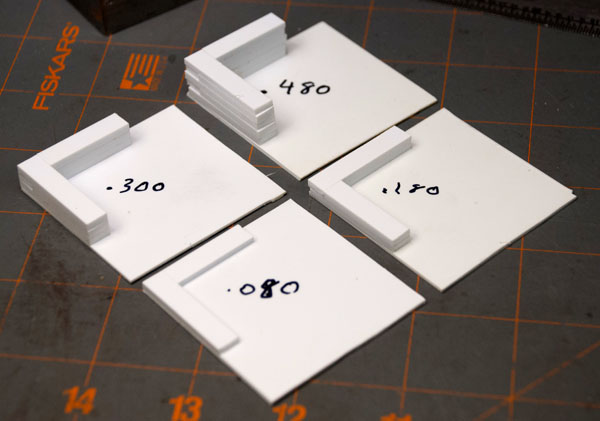
Starting with the 4th highest or .480" you work your way down to the .080" band.
When that is done you turn over the tub and place the top band at .660" or .160" from the top.


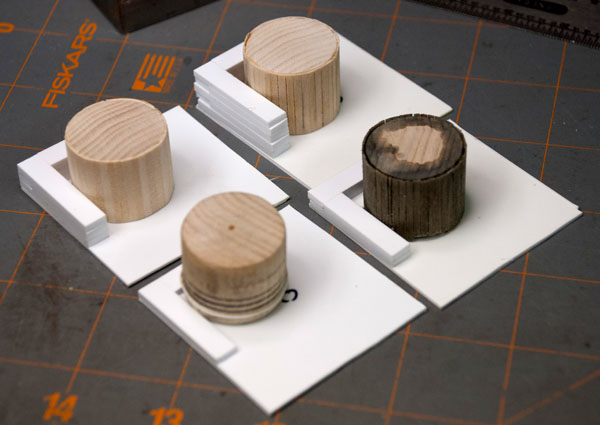

Band application using Jigs made to set the level above the car floor and applying cement using a needle as recommended by Jim Vail.
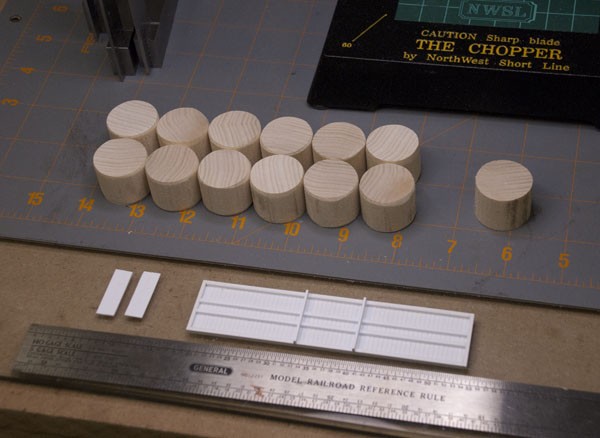
Basic tubs and car frame
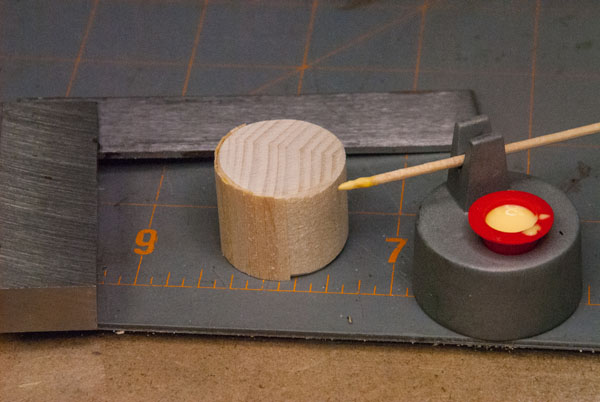
Adding the stripwood to the tubs

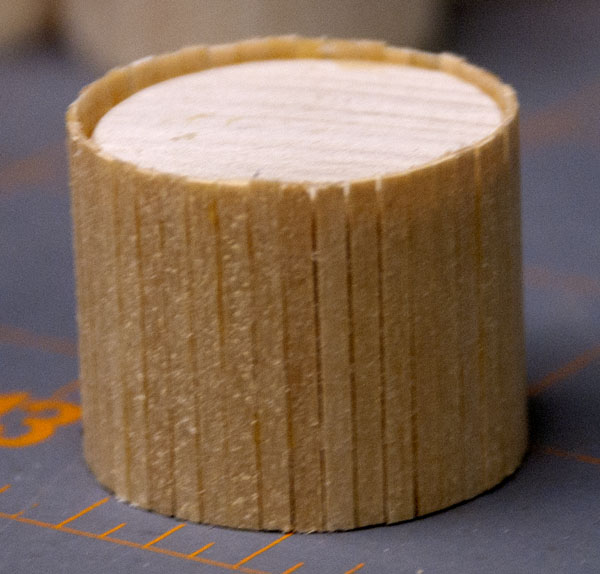
Tubs before staining

Installing Brake system
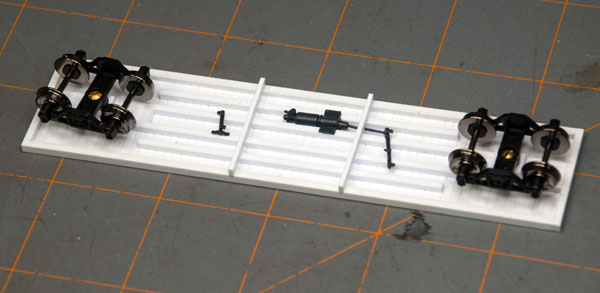
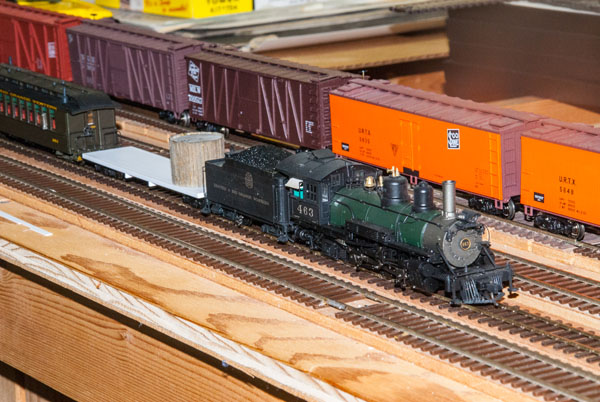
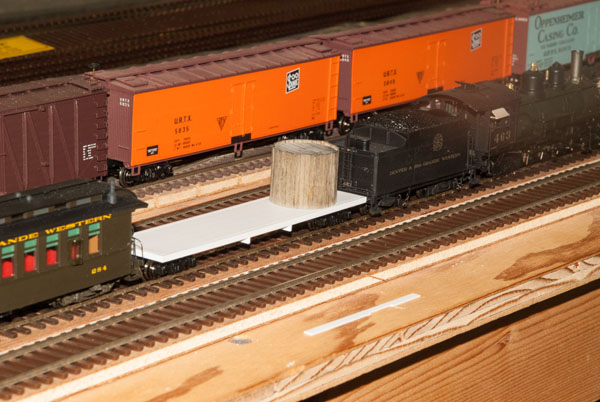
Testing the car height before setting the couplers
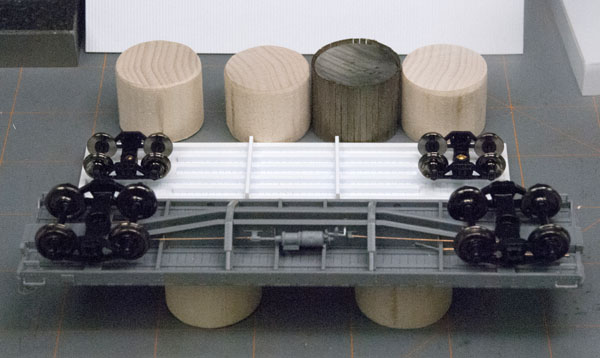
Standard gauge and Narrow gauge cars progress.
The Gray car is a Tichy flat car and the white is HOn3 scratch Evergreen Plastic.
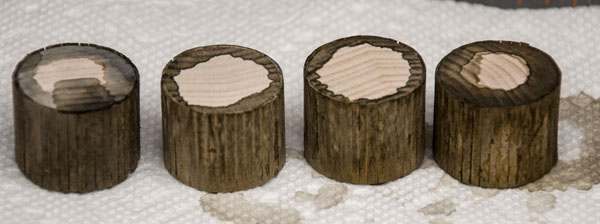
More progress HOn3 3 more Tubs ready to stain.

More Stain on the tubs

Standard gauge Tub frames built from LASERkit by American Model Builders, Inc
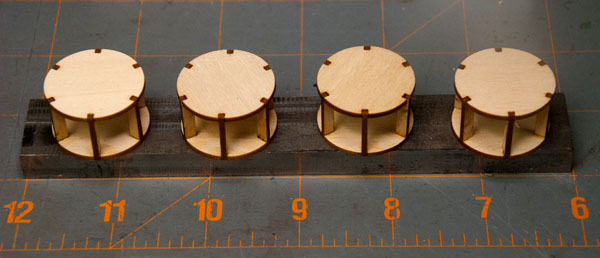
Here are the LASERkit by American Model Builders, Inc tub frames on the Tichy Flat

Coffin Pickle Car Plans

This is the first drawing of the Coffin version of the Pickle Car in HOn3
Updated 11/20/15
Posted First on 03/06/14
Join us in the “Greatest Hobby” as a member of the TLMRC.


